Last Updated on December 5, 2019 by Kevin Agar
I first describe my workflow for processing images for posting on the web in 2010.
I posted my revised workflow in November 2017.
Since then I’ve changed a few things, so I decided that I needed to update my blog
with my latest workflow, using my latest Photoshop Action, which can be downloaded from here
Starting from the point where the images have been imported into Lightroom Classic CC
Once in Lightroom go through all images and tag them as rejected or picked and delete the rejected images.
The remaining images are given keywords which are usually
Birds (or British Birds if taken in Britain),
Bird common name and Latin name, and location.
These Tags can be used to generate different collections in Lightroom.
GPS information is also added. If I’m somewhere new then I will switch on the camera’s GPS system and use this to display where the photos were taken.
If it’s somewhere that I often frequent then I will just add the images to the map in Lightroom which in turn adds the GPS location to the photographs.
Bird common name and Latin name are also added to the Caption field and the Title field.
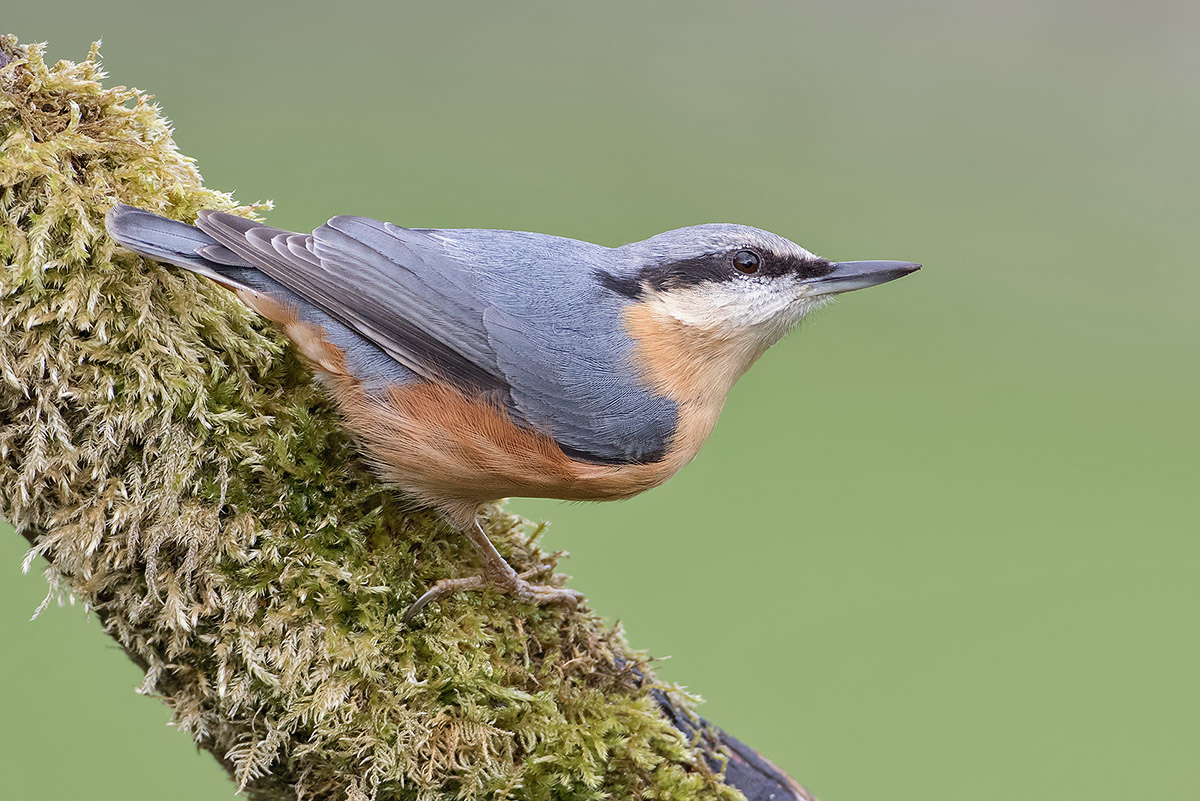
Image 1: Original, straight from the camera
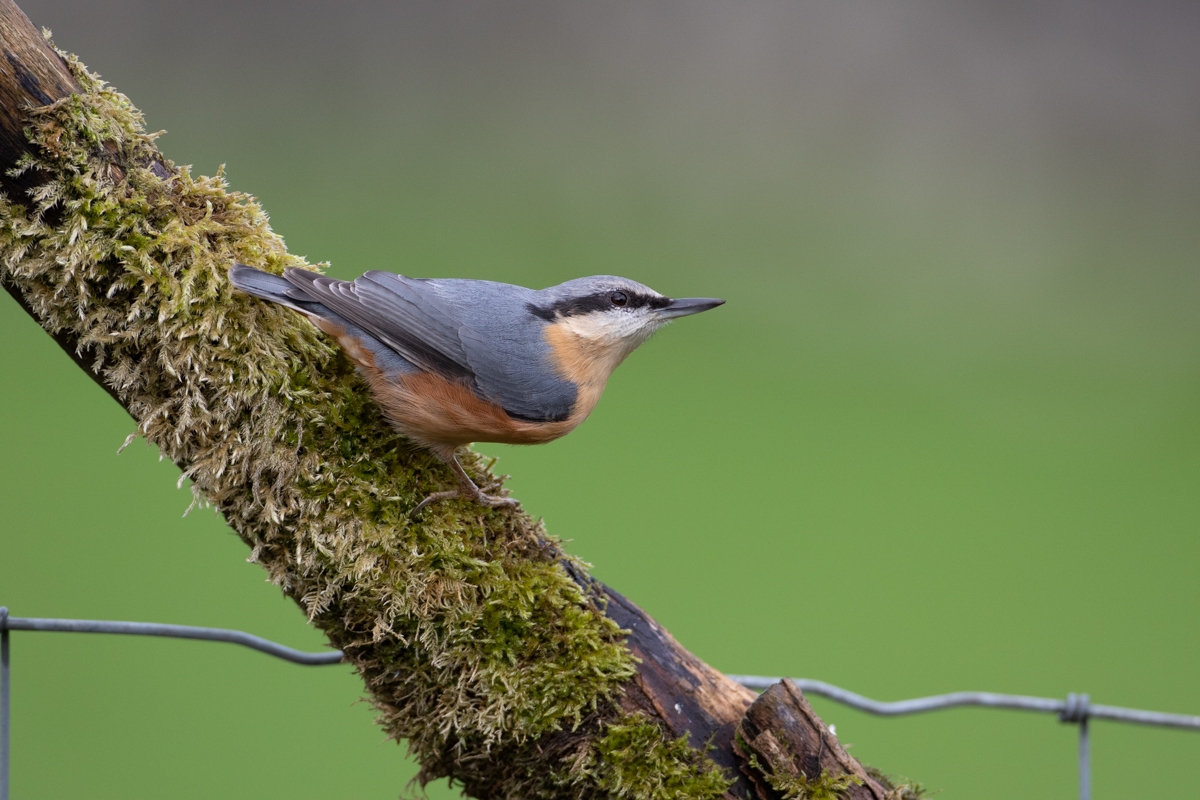
Nuthatch, Sitta europaea Canon EOS 7D Mark II f/5 1/1600sec ISO-800 500mm
Working on individual images
Crop
I like to keep the same aspect ration as comes out of the camera, namely 3×2. This is just a personal preference as I think 3X2 is aesthetically pleasing to the eye.
Try to use the rule of thirds and place the bird on a thirds line with more room in front of the bird than behind it, so the bird is looking into the frame rather than out of it.
Basic Adjustments
Try to get as much as possible out of the image, which is why I shoot RAW. Use the histogram and switch on the clipping indicators.
Start with the top slider and work down being careful to get the most detail and still keep it looking natural.
I originally thought I didn’t do any noise reduction in LR but I have since realised that I have kept the Lightroom defaults of
- Luminance 0 (As this is zero detail and contrast values are irrelevant)
- Color 25
- Detail 50
- Smoothness 50
I also keep the sharpening at the default values of
- Amount 40
- Radius 1.0
- Detail 25
- Masking 0
Saturation and Vibrance are personal taste but I find I use very little of either.
Image 2: Image with Lightroom Adjustments
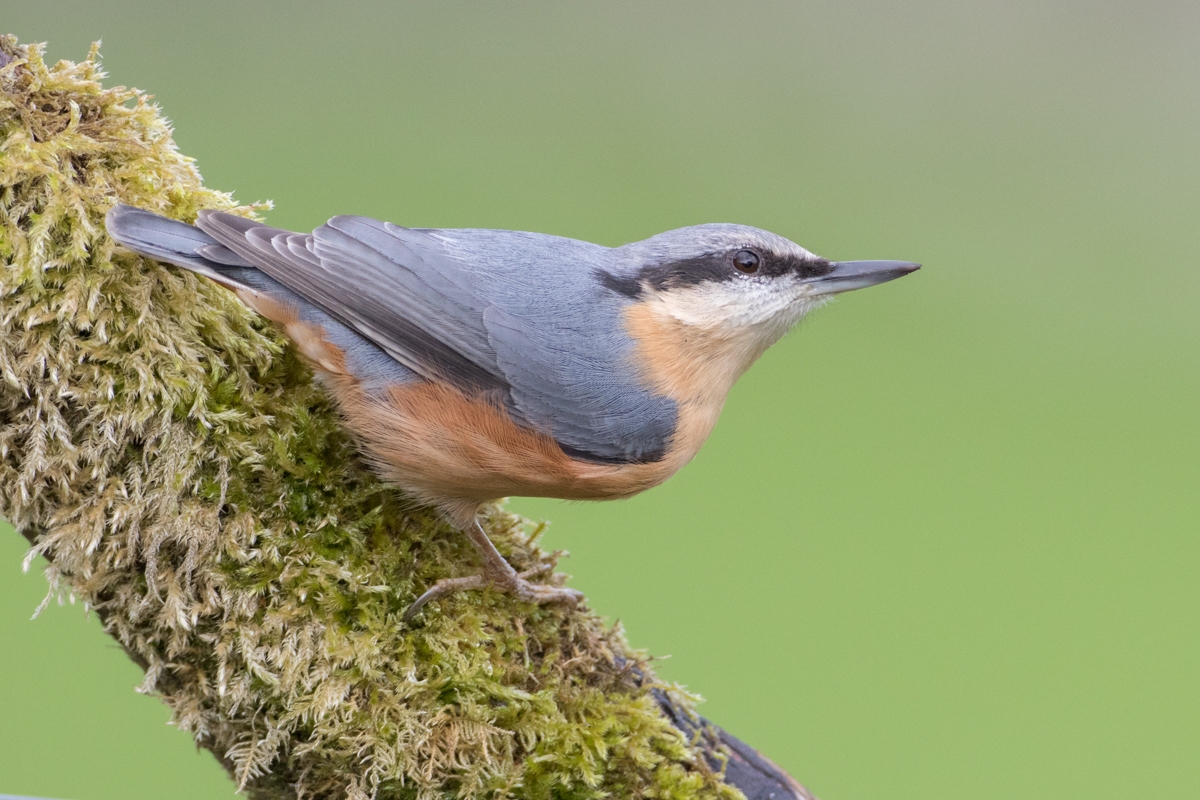
Nuthatch, Sitta europaea Canon EOS 7D Mark II f/5 1/1600sec ISO-800 500mm
In Lightroom decide which shots to put on the web and export them into Photoshop CC 2020 by right clicking the RAW file and selecting Edit In>Edit In Adobe Photoshop CC 2020…
1.The 1st job is to remove the noise, the workflow for this can be found in my blog Processing for Birds – Workflow for Noise Reduction using Neat Image.
Image 3: After Noise Reduction using Neat Image
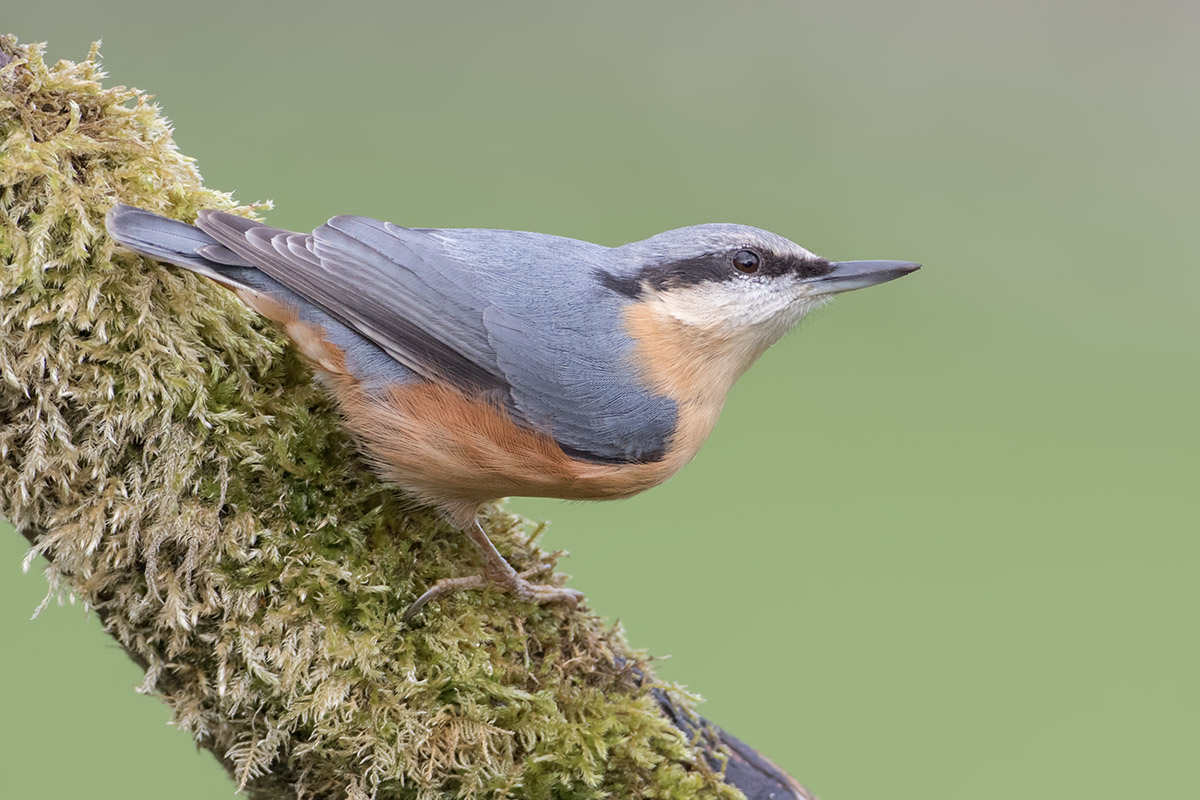
Nuthatch, Sitta europaea Canon EOS 7D Mark II f/5 1/1600sec ISO-800 500mm
After removing the noise the image is checked for any blemishes or objects that add nothing to the final image. Here are 2 that were easily removed using content aware fill.
Image 4: Remove Blemishes
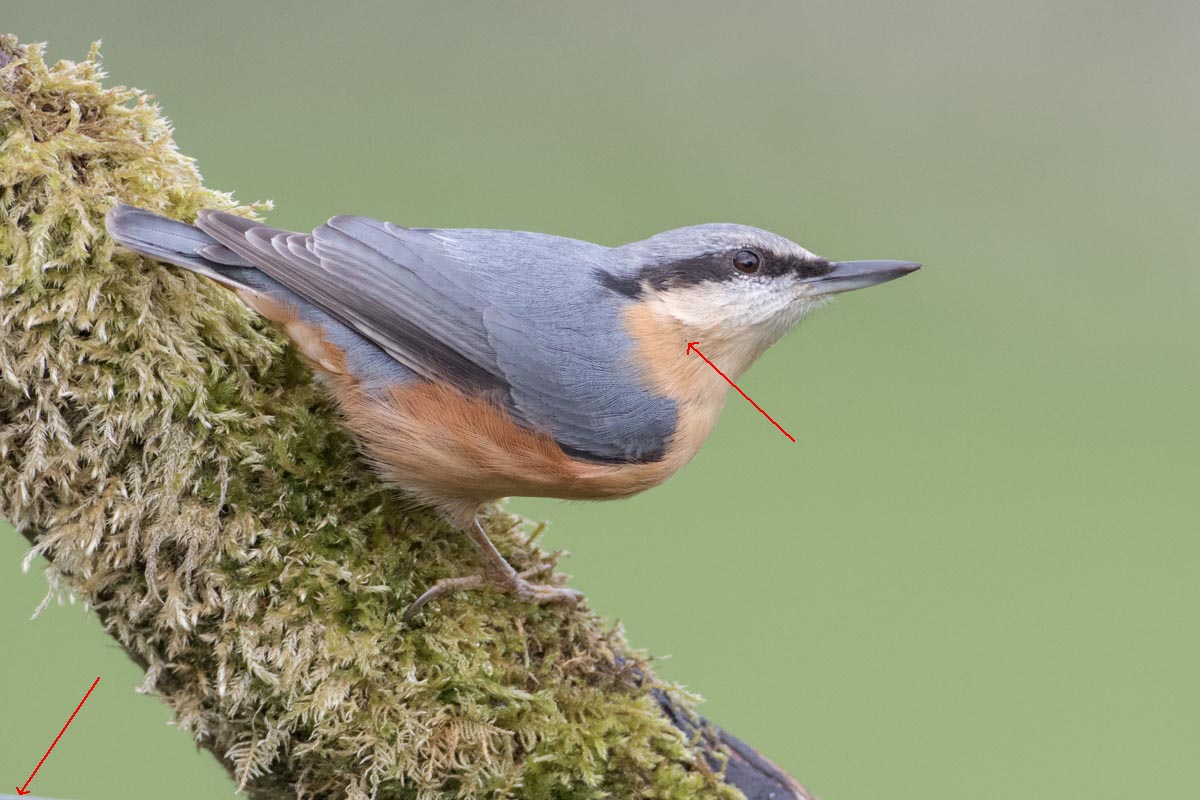
Nuthatch, Sitta europaea Canon EOS 7D Mark II f/5 1/1600sec ISO-800 500mm
I save the psd file to the desktop as I do 2 versions for the web, one at 1200×800 and another at 1600×1067
2. Run the action ‘Bird PP 1200px USM Landscape’
Image 5: After running the Action ‘Bird PP 1200px USM Landscape’

Nuthatch, Sitta europaea Canon EOS 7D Mark II f/5 1/1600sec ISO-800 500mm
3. Inspect the image and check the amount of sharpening. If it looks too sharp reduce the opacity of the top layer from it’s default of 60%.
Very rarely it needs to be increased from the default.
When satisfied, flatten the image and run the Action 5%Shadows/Highlights.
This will give the image a bit more ‘POP’, but you can toggle between the before and after using Ctrl Z and Shift Ctrl Z to decide if it’s better or not.
Image 6: 5%Shadows/Highlights adjustment
Nuthatch, Sitta europaea Canon EOS 7D Mark II f/5 1/1600sec ISO-800 500mm
4. One of the problems seen with sharpening is Halos. These appear on the edges where dark pixels meet lighter pixels and you get a white border between them.
This is noticeable especially on the lower edge of the bill in Image 6.
These can be cloned out easily and how to do it can be found in my blog
Processing for Birds – Sharpening halos and how to remove them
Image 7: Halos removed

Nuthatch, Sitta europaea Canon EOS 7D Mark II f/5 1/1600sec ISO-800 500mm
5. Add a signature and then save the image. I use Save As so that all of the exif is saved with the image.
Image 8: Final image with signature

Nuthatch, Sitta europaea Canon EOS 7D Mark II f/5 1/1600sec ISO-800 500mm
If you are interested, I’ve redone the Photoshop Actions to do all of this for a selection of image sizes in Landscape and Portrait.
There are also Actions for Enhance, 5%Shadows/Highlights, Dodge and Burn and Luminosity Mask. They can be downloaded from here
Alternately email me info@kevinagar.uk and I’ll forward them with a small explanation.