Last Updated on October 8, 2020 by Kevin Agar
There seems to be a lot of noise on the internet (Sorry  ) about a new noise reduction package using AI (Artificial Intelligence), developed by Topaz Labs called, wait for it, Topaz DeNoise AI
At the time of writing (October 2020) it’s not the cheapest software at $79.99 but with discounts to $59.99 and vouchers, it can be purchased for $50.99 which translates to £41.76. There is also a 30 day free trial period, so you can try before you buy.
I’ve been using Neat Image since 2005 and up to now, I’ve been fairly happy with it. There are loads of settings that can be adjusted, plus noise profiles that can be generated or downloaded as well as the ability to analyse each image individually.
I posted my revised workflow for noise reduction with Neat Image a while ago and have used this up to now, but decided to download the free trial of Topaz Denoise AI and give it a try.
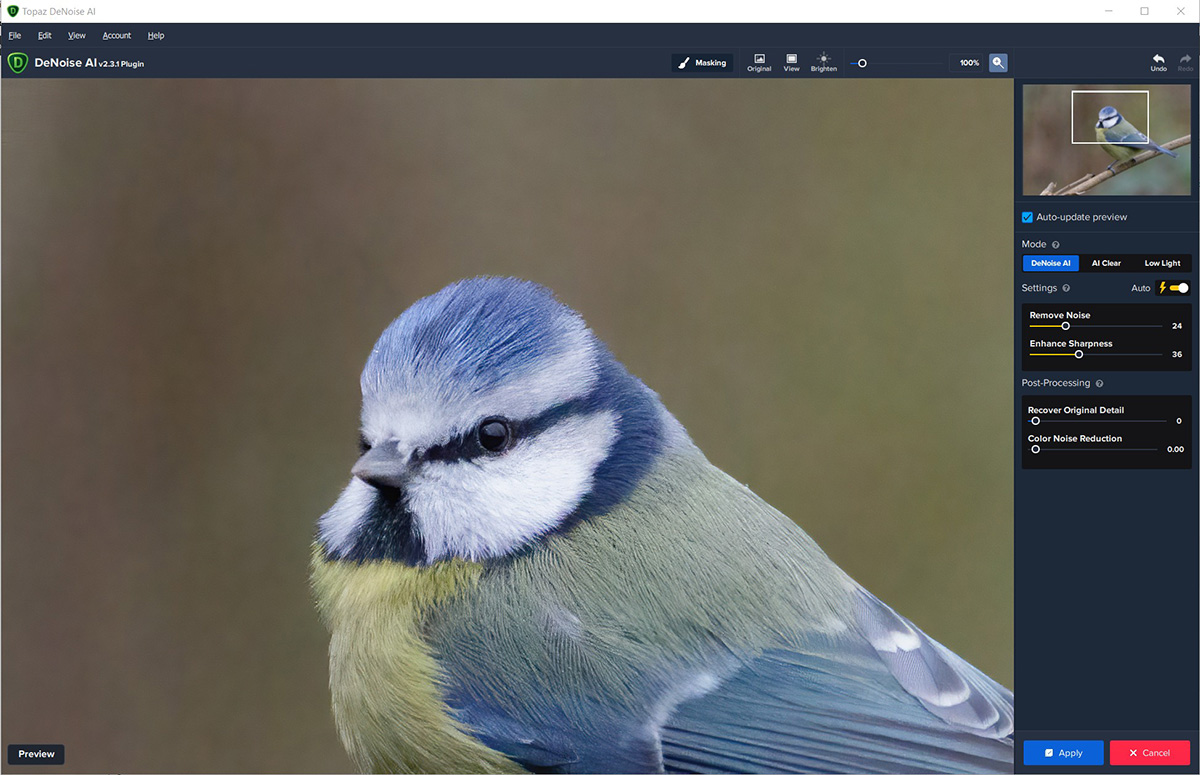
Installing it gives you a standalone version as well as a Lightroom and Photoshop plugin. As a lot of people only use Lightroom then the Lightroom plugin is probably the way to go. All of the descriptions below work in Lightroom, Photoshop, and the Standalone version. I tried the Lightroom plugin, which consists of right-clicking the image in Lightroom and selecting Edit In>Topaz DeNoise AI. This takes you to the standalone version where you can remove the noise, and when you click Apply, it adds the corrected file back into Lightroom with the file name changed to xxxx-Edit.tif
This doesn’t work with my workflow as it doesn’t allow the use of Layers or Layer Masks so I gave it a try and then forgot it. It is possible to mask in Topaz Denoise AI but I prefer the more advanced options to mask in Photoshop.
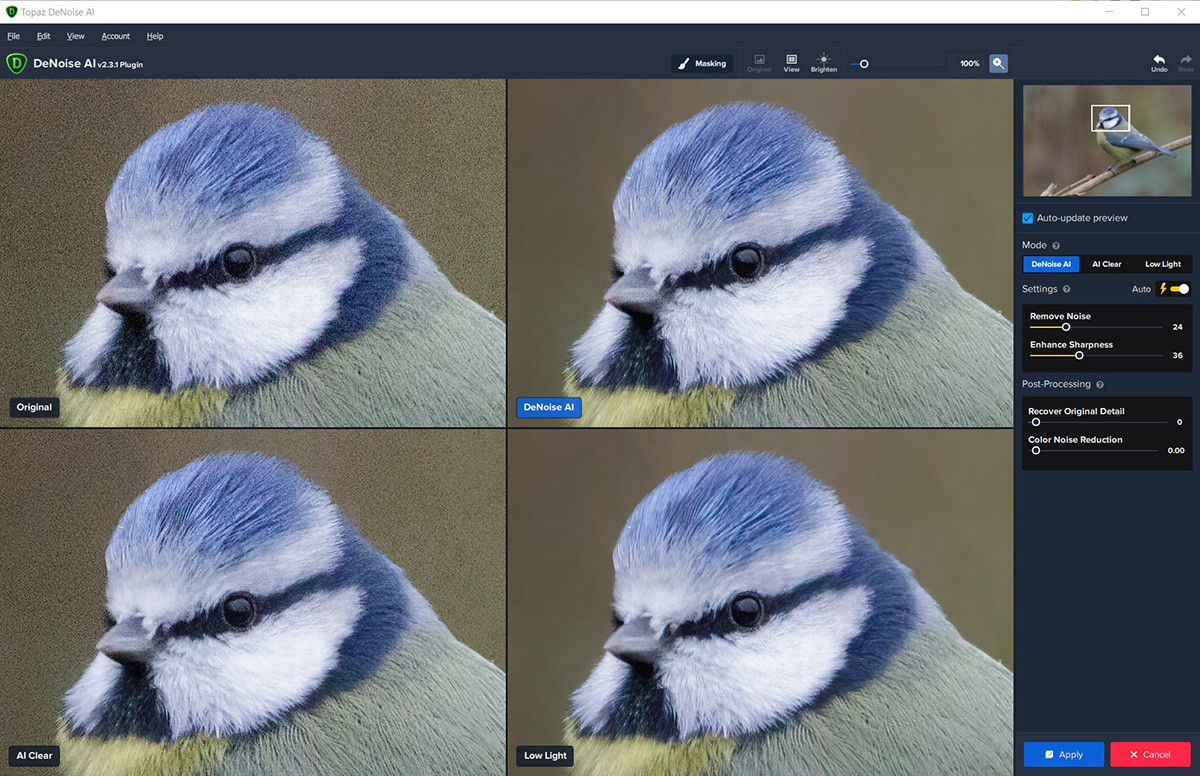
I decided to try a couple of images and compare the results to my normal Neat Image workflow. I would also try using the Auto and Manual settings in Topaz Denoise AI to see how it copes with different settings
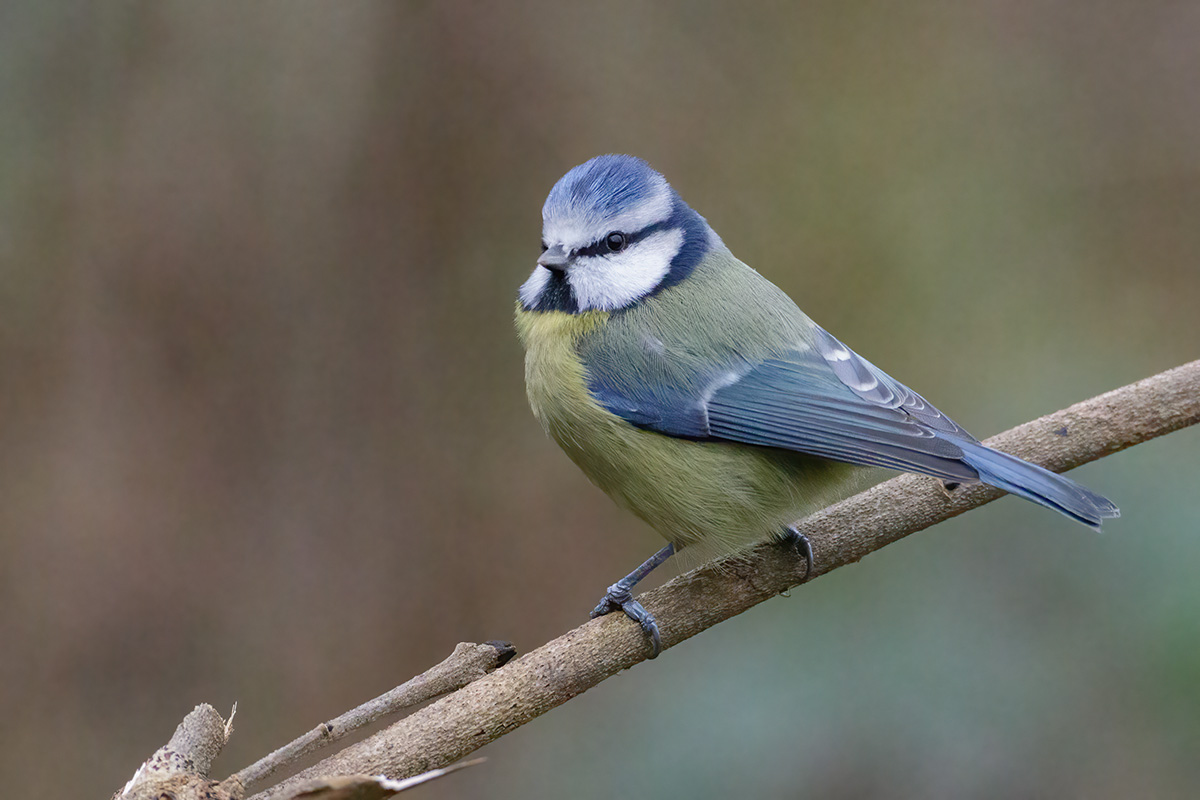
The 1st image was shot at iso12800 and was just to see how the Canon 7Dmk2 performed at high iso settings
Original Image

As can be seen, quite a lot of noise. After minor adjustments in Lightroom, I transferred the image to Photoshop and selected Filter>Topaz Labs>Topaz DeNoise AI… which opened the image in the Topaz Denoise AI workspace. Here you can select your preferred layout from the ones shown below.

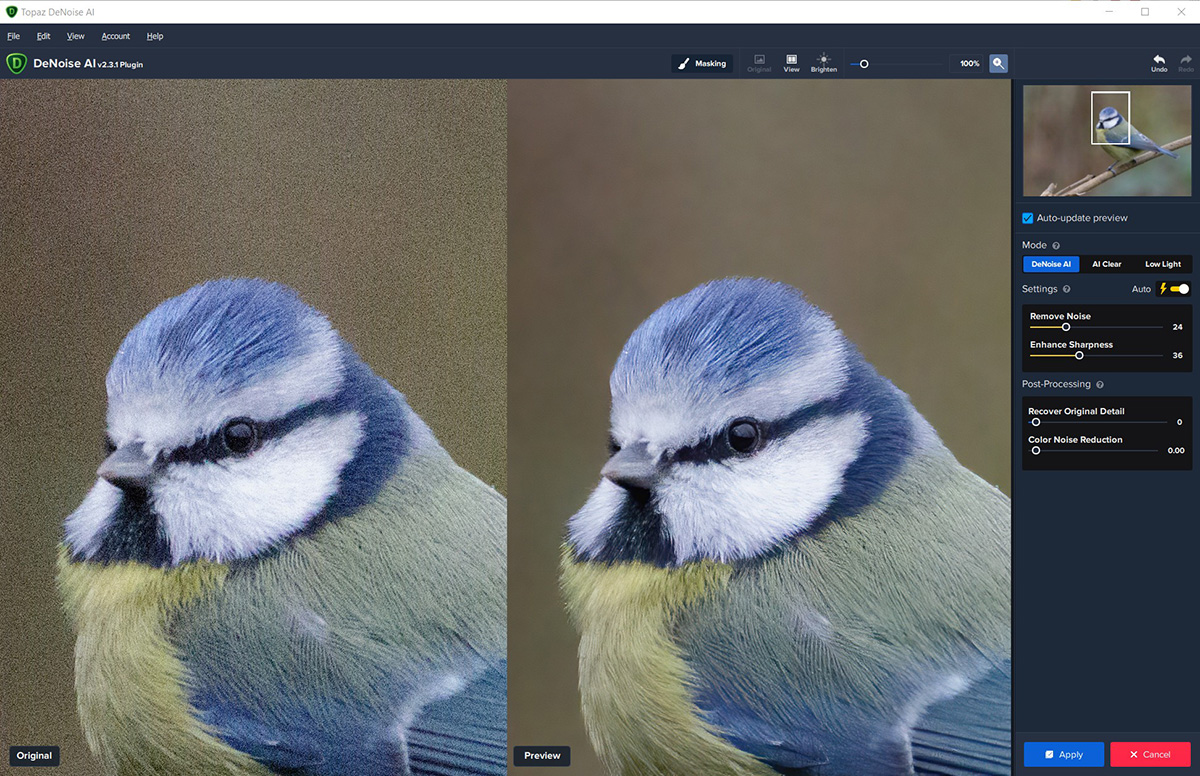
Just accepting the Auto values, I Applied the settings, and in Photoshop resized the image to 1200px to get the result below
First impressions are it did an exceptional job in removing the noise in the subject and retaining most of the details. I’m not so impressed with the background though as it looks to be very blotchy, although clear of noise.
I’m not convinced that this is a problem with Topaz Denoise AI but rather an effect generated by the camera at very high iso, that is noticeable only when the noise has been removed. There doesn’t appear to be any additional artefacts generated by Topaz DeNoise AI.
Here is a comparison of Topaz Denoise AI and Neat Image after I ran them through my enhance, sharpen and resize for the web Action
The Neat Image results give a better background, although it has added some artefacts, namely some lines, all over the background. It also hasn’t removed all of the noise from the subject. Using more noise reduction does remove these lines and noise, but it also removes some of the detail.

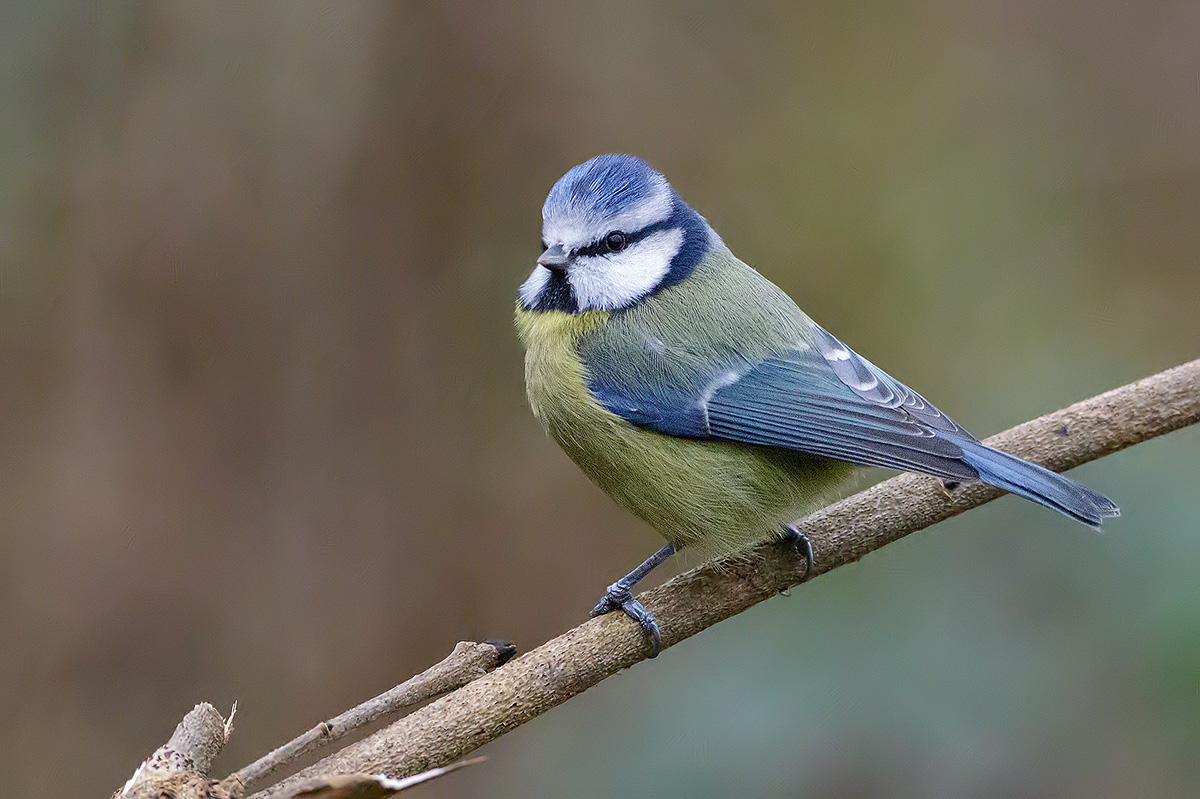
Having compared Topaz Denoise AI and Neat Image with an image that was out of the normal range of iso, the 2nd image to compare is more typical of real life shooting in the UK
The original image exported from Lightroom to Photoshop after cropping and minor adjustments (Exposure +0.8 and Blacks -25)

Canon EOS 7D Mark II 700mm F5.6 1/250 ISO1600
The original image exported from Lightroom to Photoshop after cropping and minor adjustments (Exposure +0.8 and Blacks -25) and cropped again to show more detail
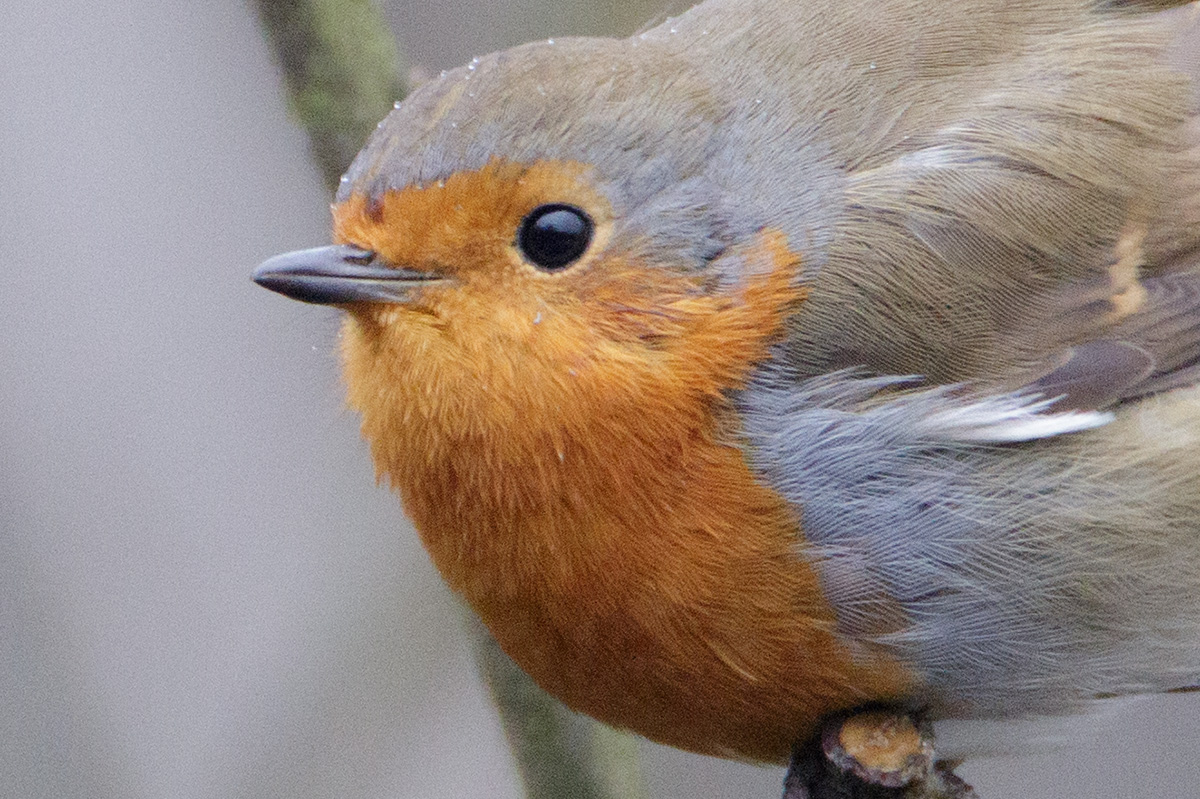
Canon EOS 7D Mark II 700mm F5.6 1/250 ISO1600
The results from Topaz DeNoise AI using Auto that gave the values of Remove Noise 9 and Enhance Sharpness 42
The results from Topaz DeNoise AI using Auto that gave the values of Remove Noise 9 and Enhance Sharpness 42 and cropped to show more detail. It does a good job of removing the noise and retaining the detail, although it hasn’t removed the noise completely from the dark areas especially the lower mandible.

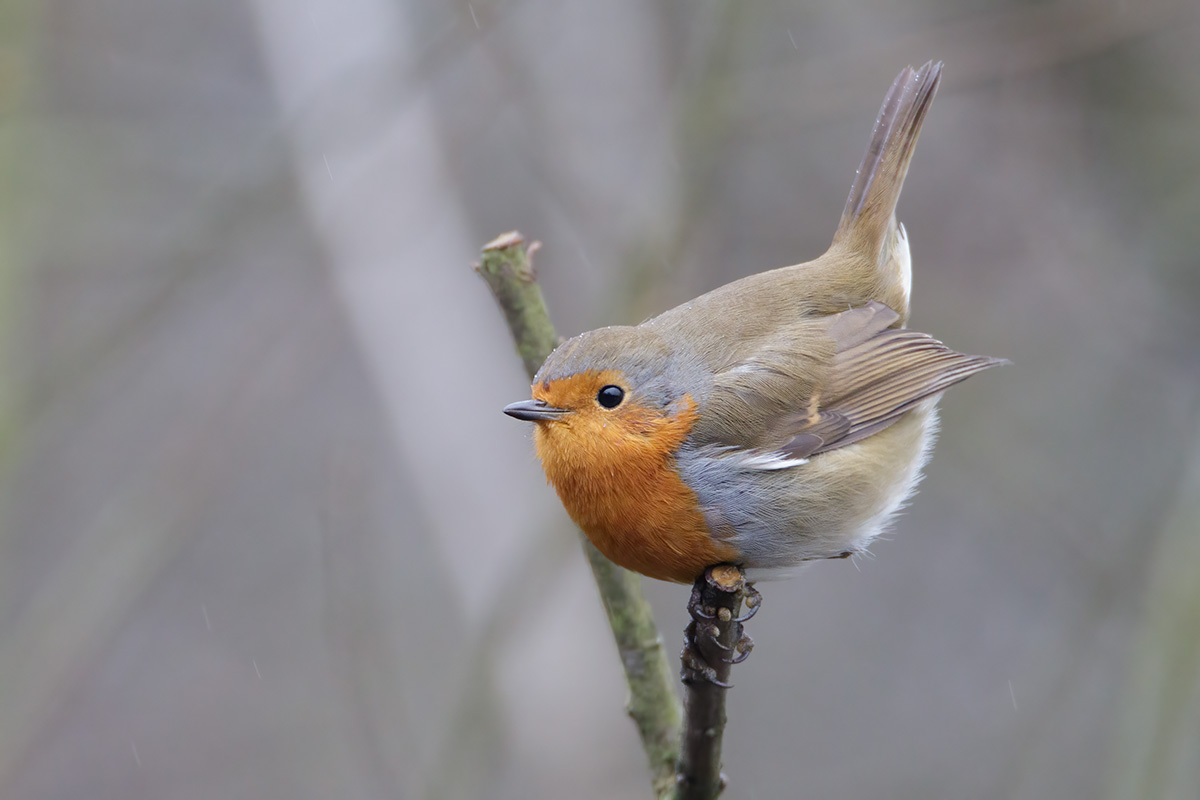
The results from Topaz DeNoise AI using Auto that gave the values of Remove Noise 9 but then the Enhance Sharpness was set to 1. As I do sharpening later then I feel these are the best settings for my workflow.

The results from Topaz DeNoise AI using Auto that gave the values of Remove Noise 9 but then the Enhance Sharpness was set to 1 and cropped to show more detail

As I mask the subject when I use Neat Image I thought it was only fair that I use a Mask with Topaz DeNoise AI. So I created 2 layers with Topaz DeNoise AI set to Auto Noise 9 and Sharpness 42 on the top layer and Topaz DeNoise AI set to Auto Noise 20 and Sharpness 42 on the lower layer. With the top layer mask set to hide all, I went over the lower mandible with a black brush set to 50% Hardness.

As I mask the subject when I use Neat Image I thought it was only fair that I use a Mask with Topaz DeNoise AI. So I created 2 layers with Topaz DeNoise AI set to Auto Noise 9 and Sharpness 1 on the top layer and Topaz DeNoise AI set to Auto Noise 20 and Sharpness 42 on the lower layer. With the top layer mask set to hide all, I went over the lower mandible with a black brush set to 50% Hardness.

The results from Neat Image having masked the subject and removing 50% of the noise from the subject, and 90% from the background, using the 7Dmk2 profile for iso1600

The results from Neat Image having masked the subject and removing 50% of the noise from the subject, and 90% from the background, using the 7Dmk2 profile for iso1600 and cropped to show more detail

The results from Neat Image and the Auto profile at 90%

The results from Neat Image and the Auto profile at 90% and cropped to show more detail. These settings are too much as is evident by the loss of details and is why I mask in my workflow.

The results from Neat Image using the 7Dmk2 profile for iso1600 at 90%

The results from Neat Image using the 7Dmk2 profile for iso1600 at 90% and cropped to show more detail. Again these settings are too much as is evident by the loss of details and is why I mask in my workflow.

So from these 2 examples I think I can say that Topaz DeNoise AI does a better job than Neat Image on the subject if I use the same processing methods for both, but I prefer the background on Neat Image in the 1st example.
I’ve used Neat Image for over 15 years and think that I’m reasonably confident with the settings and using it, but I did manage to get better results with Topaz DeNoise AI, even when using the default Auto settings.
Here is the image after I created 2 layers with Topaz DeNoise AI set to Auto Noise 9 and Sharpness 42 on the top layer and Topaz DeNoise AI set to Auto Noise 20 and Sharpness 42 on the lower layer. With the top layer masked to hide all, I went over the lower mandible with a black brush set to 50% Hardness and then ran it through my Action for Enhance, sharpen and resize for the web. It’s not the best image but at least it gave Topaz DeNoise AI a realistic test.
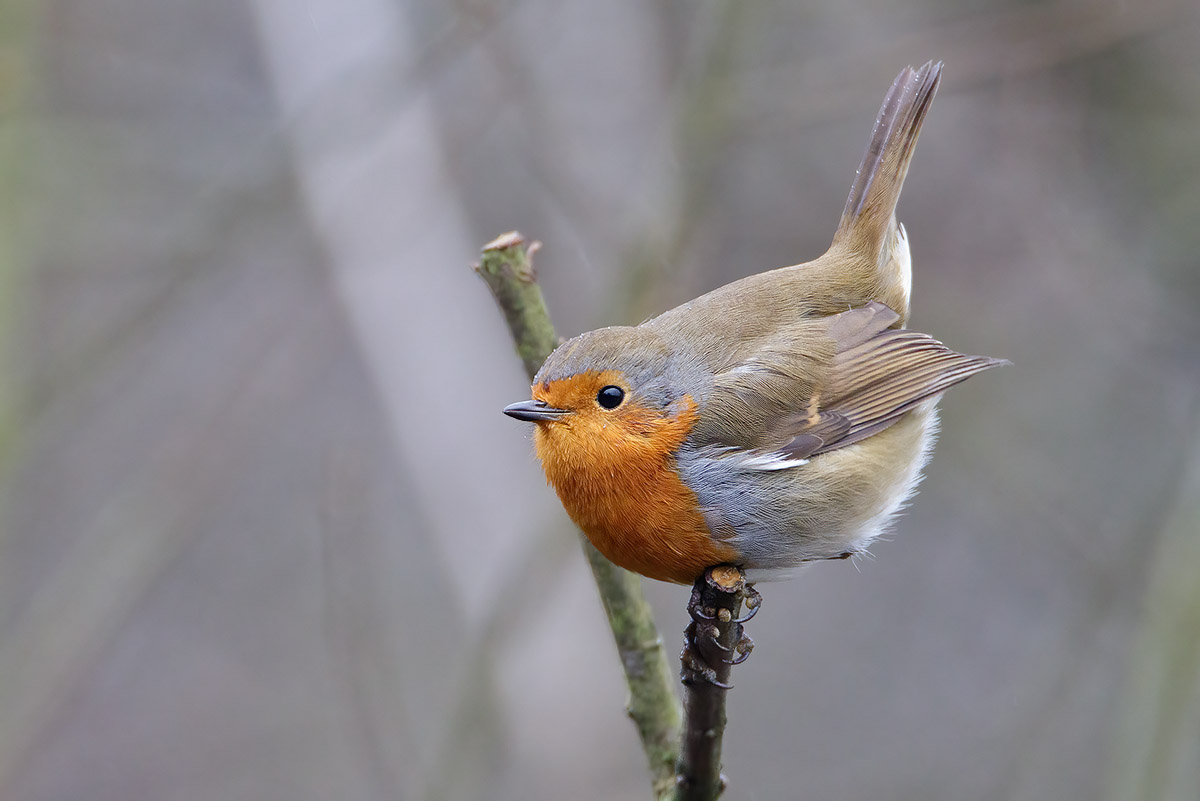
Canon EOS 7D Mark II 700mm F5.6 1/250 ISO1600