Last Updated on December 9, 2021 by Kevin Agar
The preamble
If you can’t be bothered with the whys and wherefores then you can click the links below to go to each section.
This is a revised description of my noise reduction workflow using NeatImage.
Originally I was under the impression that I wasn’t doing any noise reduction in Lightroom or Photoshop as I didn’t think they were very good. Just my opinion and others will probably disagree.
Since then, and with a lot of experimentation, I now realise that Lightroom defaults apply sharpening and noise reduction to the images. These are :-
Sharpening
- Amount 40
- Radius 1.0
- Detail 25
- Masking 0
Noise Reduction
- Luminance 0 (As this is zero detail and contrast values are irrelevant)
- Color 25
- Detail 50
- Smoothness 50
With this in mind I decided to run the same image through NeatImage using different settings in Lightroom.
As I’d previously settled on a set of NeatImage values after a lot of trial and error, I decided to stick with these values for the time being and only change the values in Lightroom.
So for NeatImage I stuck with using the profiles for my camera, the Canon 7DMk2, that I’d generated a while ago, and use the following settings in NeatImage as shown in Image 1
- 90% noise reduction for the background and 50% for the subject.
- 90% noise reduction on the complete image.
- 90% noise reduction and 100% Luminance for the background and 50% for the subject.
- 90% noise reduction and 100% Luminance on the complete image
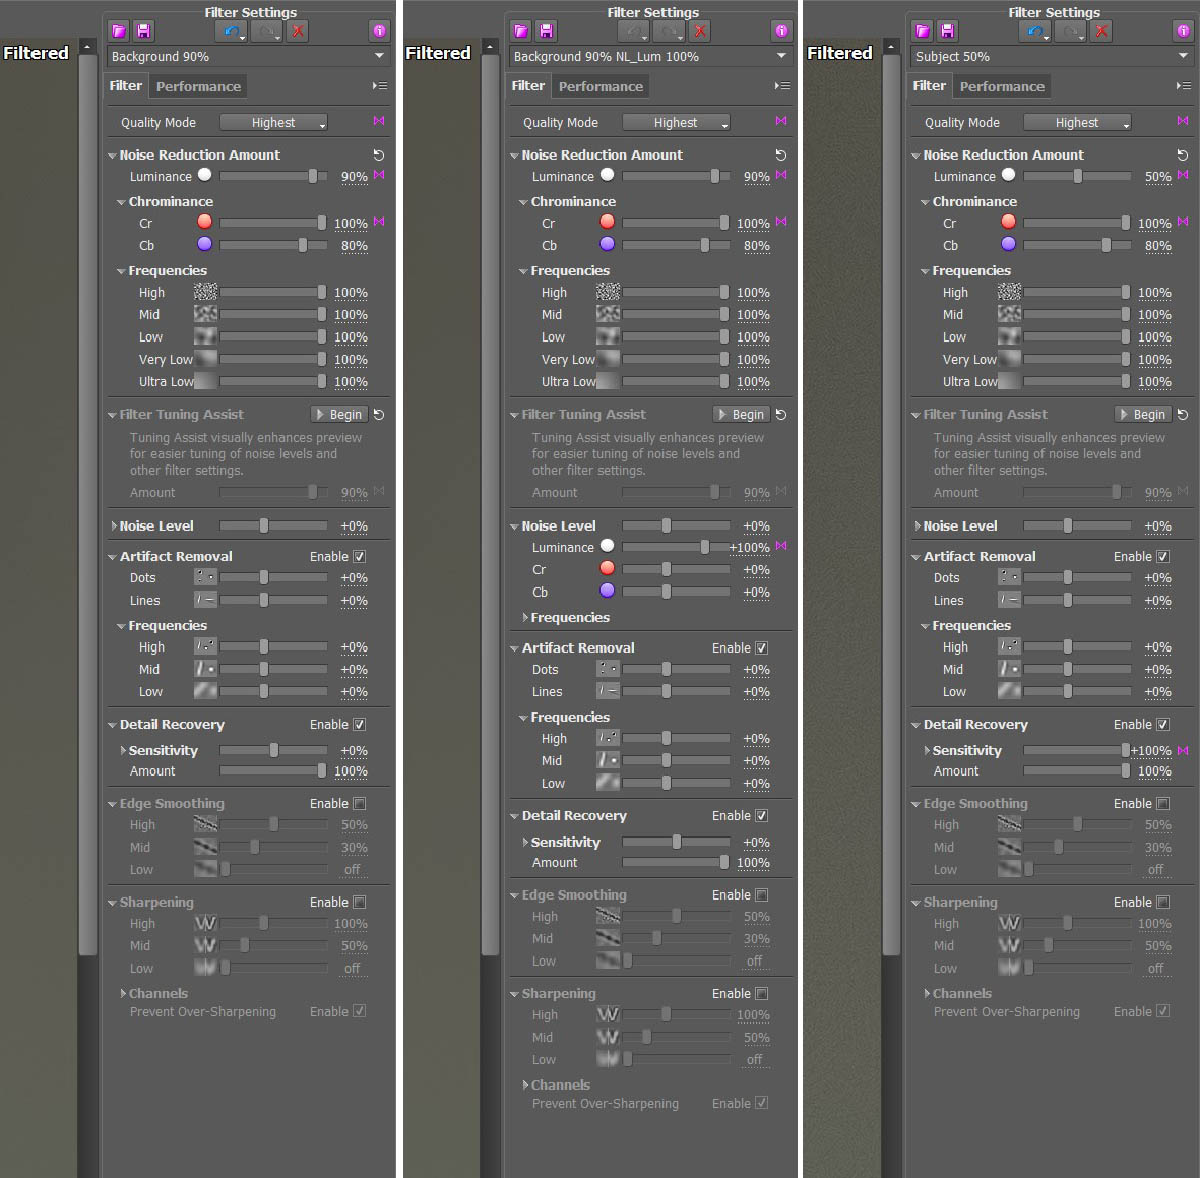
Settings used in NeatImage for Background and Subject
Image 1
The technique I use is described in the resulting workflow section below.
Images were resized and saved as 2 different files, one as 16 bit and maximum quality (12 in Photoshop) and the other as 8 bit and medium quality (7 in Photoshop)
The test results
Here are the images and the descriptions of what was done.
The image was shot on a Canon 7DMk2 with a Canon 500mm F4.0 Mk1 lens and settings of 1/640s, F4.0, iso800

Lightroom Sharpening Off, Noise Reduction Off
No Neat Image done
Image resized to 1200px, 16bit Quality 12
Image 2
Basically straight out of the camera but resized.
Image shows a fair amount of noise that is uniform with no streaking
——————————
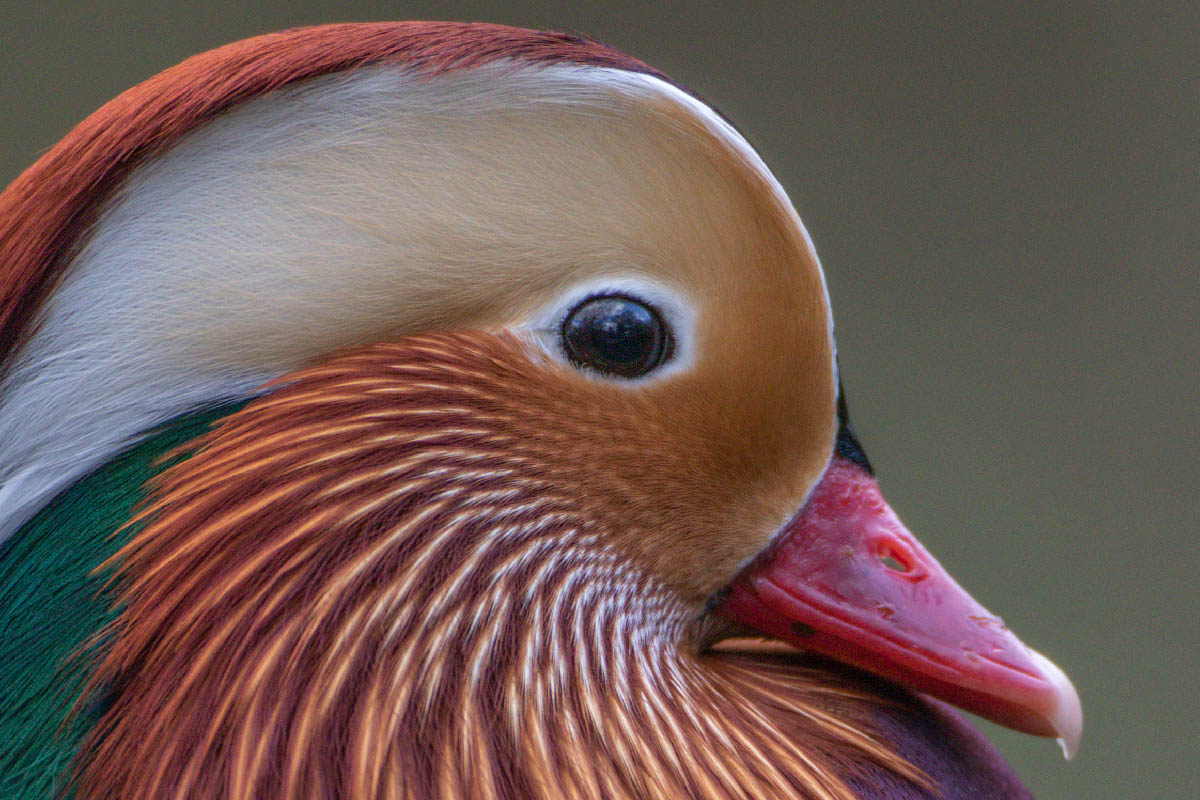
Lightroom Sharpening Off, Noise Reduction Off
No Neat Image done
Image resized to 1200px, 8bit Quality 7
Image 3
Same as Image 2 except the image has been converted from 16 bit to 8 bit and saved at a quality of 7. This is to reduce the size used on this website, so as to decrease load time
——————————

Lightroom Sharpening Amount 40, Radius 1.0, Detail 25, Masking 0, Noise Reduction Luminance 0,0,0 Color 25, Detail 50, Smoothness 50
Neat Image 90% Background, 50% Subject
Image resized to 1200px, 16bit Quality 12
Image 4
These are my go to settings at the moment
——————————

Lightroom Sharpening Amount 40, Radius 1.0, Detail 25, Masking 0, Noise Reduction Luminance 0,0,0 Color 25, Detail 50, Smoothness 50
Neat Image 90% Background, 50% Subject
Image resized to 1200px, 8bit Quality 7
Image 5
Same as Image 2 except the image has been converted from 16 bit to 8 bit and saved at a quality of 7
Not looking too bad although noise is still visible on the lower mandible of the duck. This can be improved by changing the masking which will be explained in the workflow below
The other problem with this is the smooth background shows some posterisation due to the jpg compression
——————————
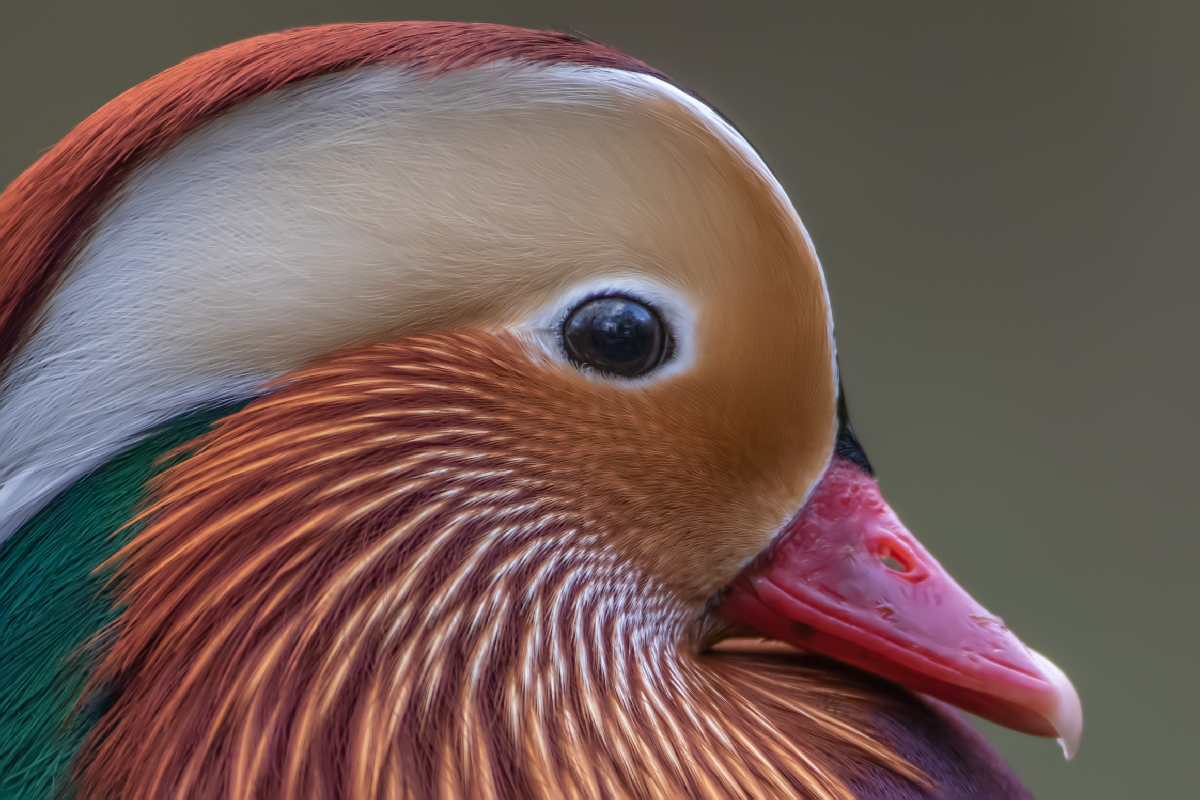
Lightroom Sharpening Amount 40, Radius 1.0, Detail 25, Masking 0, Noise Reduction Luminance 0,0,0 Color 25, Detail 50, Smoothness 50
Neat Image 100% Lum, 90% Complete Image
Image resized to 1200px, 16bit Quality 12
Image 6
Default Lightroom settings but using 100% Luminance noise removal in NeatImage
This shows the problem of using the same noise reduction on the background and the subject. There is a good smooth background but the detail in the subject has been lost due to the amount of noise reduction being too high
——————————

Lightroom Sharpening Amount 40, Radius 1.0, Detail 25, Masking 0, Noise Reduction Luminance 0,0,0 Color 25, Detail 50, Smoothness 50
Neat Image 100% Lum, 90% Complete Image
Image resized to 1200px, 8bit Quality 7
Image 7
Same as Image 6 except the image has been converted from 16 bit to 8 bit and saved at a quality of 7
It’s showing some posterisation due to the jpg compression but note that the noise on the lower mandible has been removed
——————————

Lightroom Sharpening Amount 40, Radius 1.0, Detail 25, Masking 0, Noise Reduction Luminance 0,0,0 Color 25, Detail 50, Smoothness 50
Neat Image 100% Lum, 90% Background, 50% Subject
Image resized to 1200px, 16bit Quality 12
Image 8
There isn’t a lot of difference between Image 8 and Image 4
This is due to the uniform nature of the background. If the image had a background with very light or very dark areas, sometimes the settings used in Image 3 aren’t good enough, and you still get noise in those areas. Using these settings overcomes this problem
——————————

Lightroom Sharpening Amount 40, Radius 1.0, Detail 25, Masking 0, Noise Reduction Luminance 0,0,0 Color 25, Detail 50, Smoothness 50
Neat Image 100% Lum, 90% Background, 50% Subject
Image resized to 1200px, 8bit Quality 7
Image 9
Same as Image 8 except the image has been converted from 16 bit to 8 bit and saved at a quality of 7
It’s showing some posterisation due to the jpg compression
——————————

Lightroom Sharpening Off, Noise Reduction Off
Neat Image 90% Complete Image
Image resized to 1200px, 16bit Quality 12
Image 10
There is still noise in this image despite running it though NeatImage, showing the importance of applying the default settings in Lightroom
There is also a loss of detail in the subject because the setting of 90% is too high for the complete image
——————————
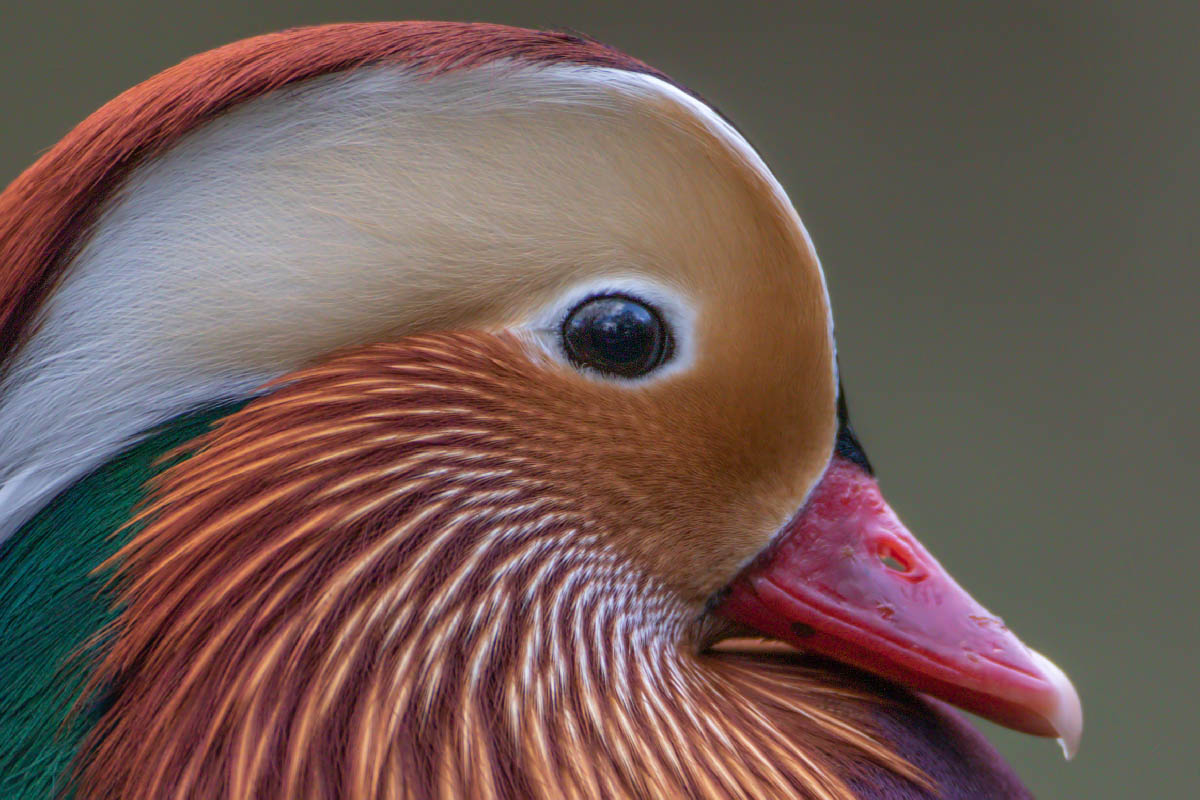
Lightroom Sharpening Off, Noise Reduction Off
Neat Image 90% Complete Image
Image resized to 1200px, 8bit Quality 7
Image 11
Same as Image 10 except the image has been converted from 16 bit to 8 bit and saved at a quality of 7
It’s showing some posterisation due to the jpg compression which appears to be worse than previous examples
——————————
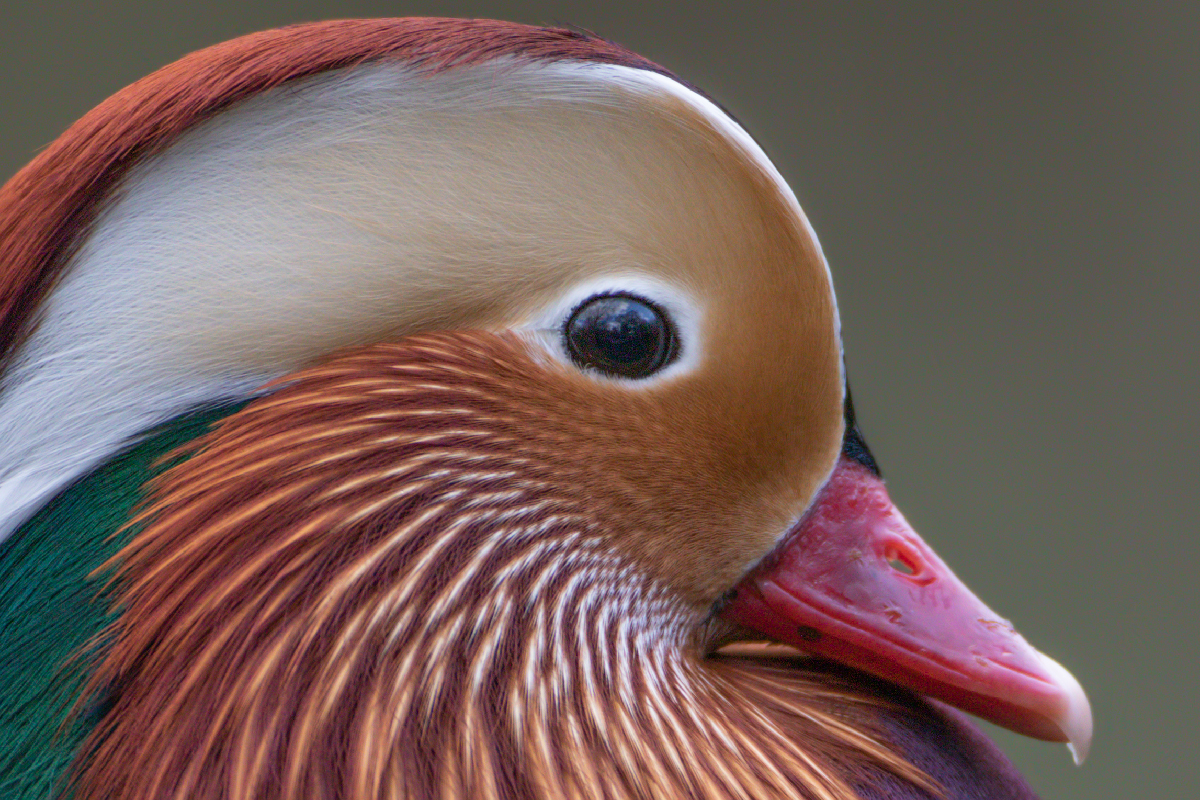
Lightroom Sharpening Off, Noise Reduction Off
Neat Image 90% Background, 50% Subject
Image resized to 1200px, 16bit Quality 12
Image 12
Again, there is still some noise in the image but the subject is better due to the masking although the lower mandible shows a lot of noise
——————————

Lightroom Sharpening Off, Noise Reduction Off
Neat Image 90% Background, 50% Subject
Image resized to 1200px, 8bit Quality 7
Image 13
Same as Image 12 except the image has been converted from 16 bit to 8 bit and saved at a quality of 7
It’s showing some posterisation due to the jpg compression
——————————
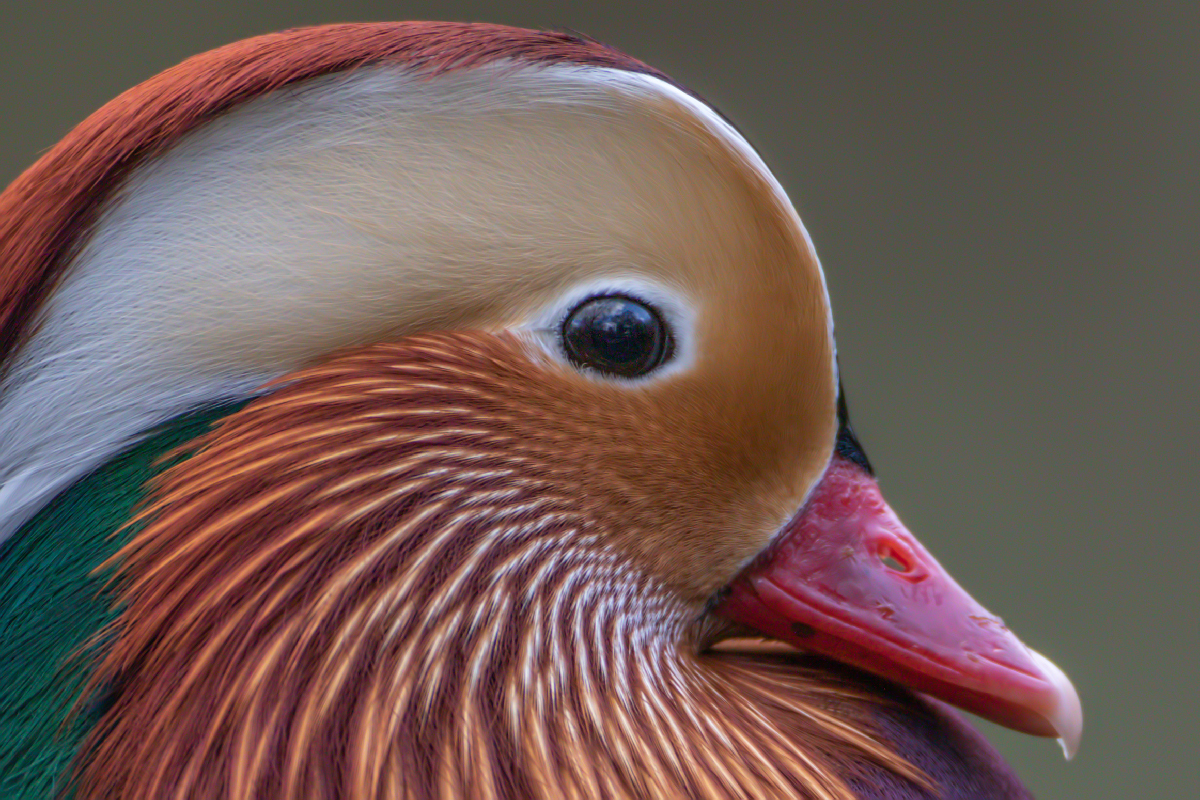
Lightroom Sharpening Off, Noise Reduction Off
Neat Image 100% Lum, 90% Complete Image
Image resized to 1200px, 16bit Quality 12
Image 14
There is still a small amount of noise in the image and as the noise reduction was done over the complete image the detail in the subject has been lost. Also has a small amount of noise on the lower mandible
——————————

Lightroom Sharpening Off, Noise Reduction Off
Neat Image 100% Lum, 90% Complete Image
Image resized to 1200px, 8bit Quality 7
Image 15
Same as Image 14 except the image has been converted from 16 bit to 8 bit and saved at a quality of 7
It’s showing some posterisation due to the jpg compression
——————————

Lightroom Sharpening Off, Noise Reduction Off
Neat Image 100% Lum, 90% Background, 50% Subject
Image resized to 1200px, 16bit Quality 12
Image 16
Subject looks ok except for the noise on the lower mandible. The background has some noise but not too much
——————————

Lightroom Sharpening Off, Noise Reduction Off
Neat Image 100% Lum, 90% Background, 50% Subject
Image resized to 1200px, 8bit Quality 7
Image 17
Same as Image 16 except the image has been converted from 16 bit to 8 bit and saved at a quality of 7
It’s showing some posterisation due to the jpg compression
——————————
Conclusion
Whilst NeatImage is very good at removing noise you still have to be careful not to overdo it
Images are definitely better if you use the Lightroom default settings for sharpening and noise reduction
Masking subject and background gives far better results than just doing a single pass of NeatImage on the whole image
Although I’m generally happy with my settings I still think there is room for improvement
More experimentation is required and the next thing I would like to check is
what are the results like if I turn Lightroom sharpening off and noise reduction on?
I would expect the results to be the same as above
If you are interested and want to look at the images more closely then you can download the images and psd files
Download the images and psd files
WARNING LARGE FILE (370Mb)
The resulting workflow
Whether you’ve skipped the above and headed straight to this point or managed to wade through the above, welcome to my Revised Workflow for noise reduction using NeatImage
As I generally use one of two different workflows, I have incorporated both into a single action where you can select either method and compare them both to choose the most appropriate for the image.
Download the Action
If your not interested in the action then this is the workflow
After doing your image adjustments in Lightroom Develop module, right click the image and select Edit in>Edit in Adobe Photoshop xxxx… (xxxx depending on your version of Photoshop)
Select the image in Photoshop and duplicate the layer. On the top layer select the bird using whatever selection tool you’re happy with. Then you usually need to refine the selection. The Action uses Select>Subject and gives you the opportunity to refine it. Create a mask with this selection (3rd icon from the left at the bottom of the layers palette). Duplicate this layer then select it’s layer mask and invert it (Ctrl I) Duplicate this layer. This will give you 4 layers as shown in Image 18 and Image 19 below. If you don’t keep the original layer at the bottom of the layer stack you will get a white border around the bird due to the differences between the two selections, and have to start messing about with increasing the selections by 1 pixel or some other method. I found leaving the layer at the bottom of the stack an easier method.
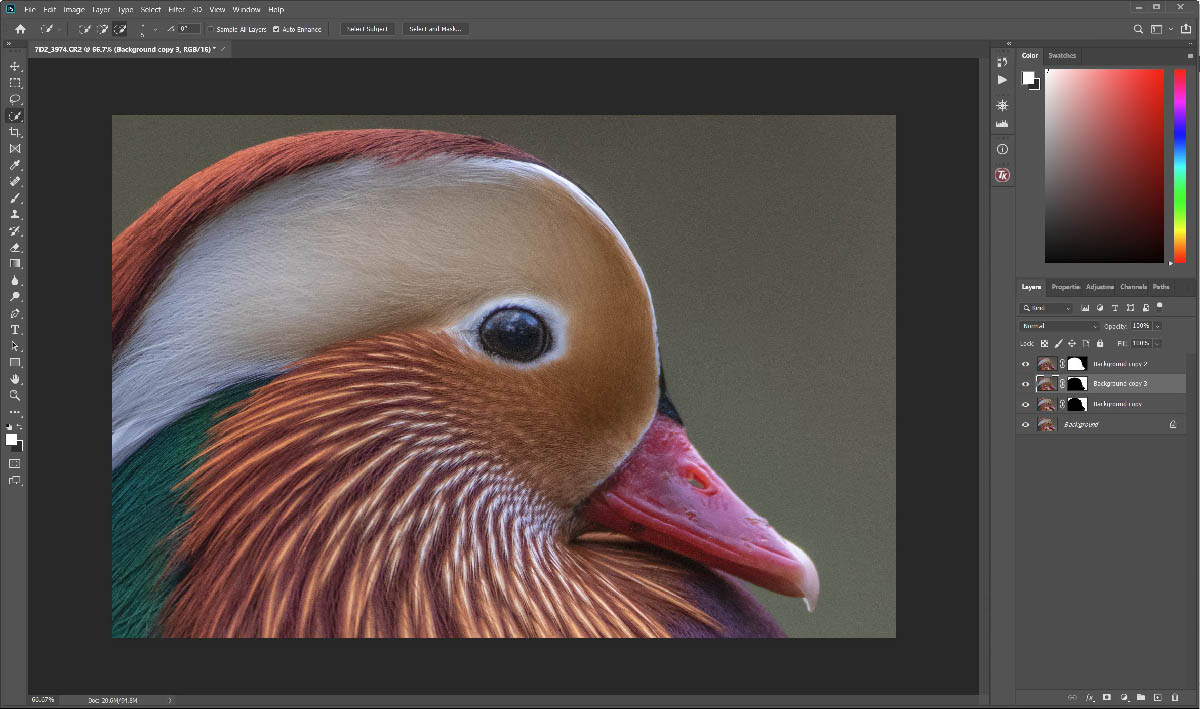
The image with the 3 layer masks
Image 18
——————————

The Layers Palette showing the 4 layers
Image 19
——————————
Select the top layer (the bird) and rename it to NI Subject 50%. Select the next layer and rename it NI Bg 90% and finally select the 3rd layer from the top and rename it NI Bg 90% 100% Lum. The Background layer stays as it is and you should now have your Layers as shown in Image 20.
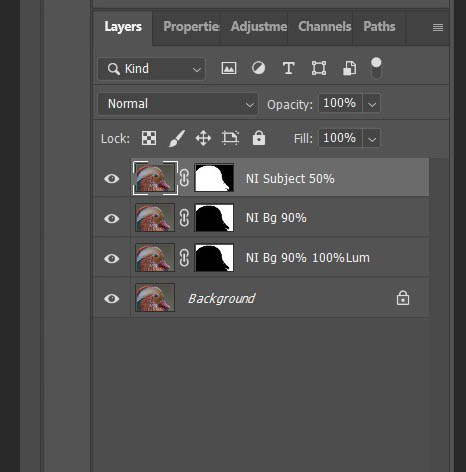
The Layers Palette showing the 3 renamed layers
Image 20
With the top layer, NI Subject 50% selected, open NeatImage from Filters>Neat Image>Reduce Noise V8… and Select Auto Match. It should load the profile for the camera with the appropriate iso that was used. If you don’t have the profiles for your camera, either download them from the NeatImage profiles page or use the Auto Profile button instead. Then do Auto Fine Tune and select the Noise Filter Settings.
Ensure Filter Quality is set to Highest. I’ve messed with most of the sliders and settled on the settings shown in Image 1 at the start of this article. These values can be changed if required as not every image needs the same settings but it does give a good starting point. You can save these settings as a preset by clicking the save button at the top of the controls panel (floppy disk icon) Select Apply at the bottom right of the NeatImage window and you’ll be taken back to Photoshop.
Do the same on the Next 2 layers, NI Bg 90% and NI Bg 90% 100% Lum, using the relevant settings as shown in Image 1.
You will now have 3 Masked layers with different amounts of noise reduction, and a background layer. You need to switch off either the 2nd Layer, NI Bg 90% or the 3rd Layer, NI Bg 90% 100% Lum
If you have a nice smooth neutral background then you will probable need to switch off Layer 3, NI Bg 90% 100% Lum
If you have a busy background with bright and dark areas then you will probable need to switch off Layer 2, NI Bg 90%
Look at the image and switch between the 2 layers to decide which looks best
Having decided which layer you want to use, either NI Bg 90% or NI Bg 90% 100% Lum, select the Layer mask of that layer, and with a white brush go over any area of the subject that still shows some noise. You don’t have to be too careful. When finished select the mask of the subject and now with a soft black brush (10% Opacity, 25% Flow) Carefully paint over the noisy areas. Go over the area with numerous passes to build up the effect until you’re happy. If you overdo it then just change to a white brush and reapply the mask. Note:- This will remove the noise but will also remove detail so do it with care.
If everything looks good then you can flatten the image and continue processing the image for whatever you want. Personally I sharpen, enhance and resize to 1200px on the long side for this website, Twitter and Instagram, then sharpen, enhance and resize to 1600px on the long side for Flickr and Facebook. These are done using Actions and workflows as described in Processing for Birds – Web Images
I do no sharpening in Neat Image.
Nice work on this tute Kevin, you have put a lot of time and effort into this, thank you.
I will try it out later.